How to Use a Gas Grill – Step by Step Guide for Beginners
Now that you have bought a new gas grill, it’s time for you to learn how to use one properly.
No need to get worked up as it’s a pretty easy process.
However, easy doesn’t mean you won’t have to be careful. In fact, you’ll need to remain cautious all the time to make sure the food doesn’t get burnt.
Now, let’s get to the main topic. Below, I’ll illustrate a step-by-step guide for you to learn how to use a gas grill. Let’s dive in.
More...
How to Use a Gas Grill Step-by-Step?
Here’s the step-by-step section that I promised you earlier.
Step 1: Clean Your Grill
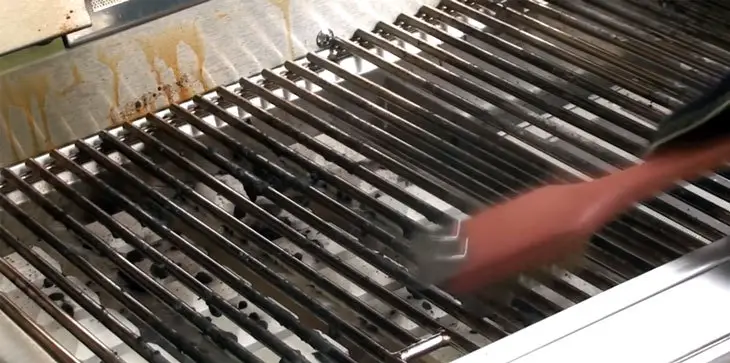
Who likes cleaning grease and dirt off the grill? Nobody. It’s boring and takes a bit of time as well. So, why don’t we just let the grill remain as it is?
Wrong, it would be a huge mistake not to clean the grill before the cooking process unless you like to have a pungent taste of the last night’s food remnants.
So, if you want your food to taste fresh, it’s imperative that you give the grill a proper clean. Now, it would be better to clean the grill immediately after every time you cook as it would take less time and effort.
Step 2: Make Sure There’s Enough Gas in the Tank
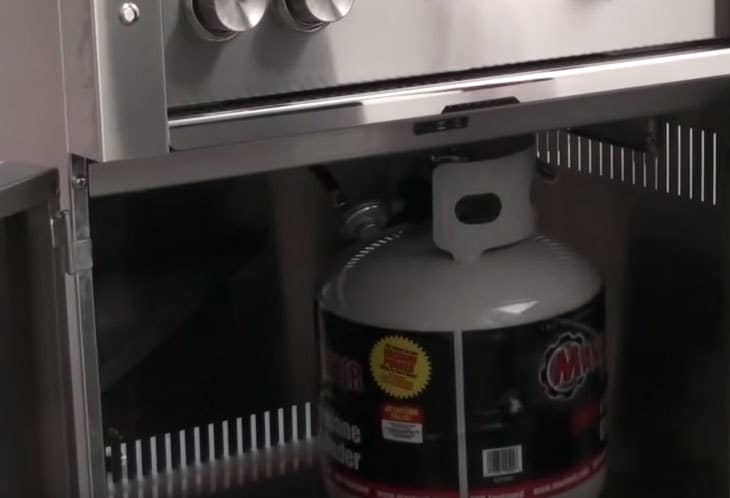
Imagine the gas being finished in the middle of the cooking! Not only it would be frustrating, but it would also make all the preparation meaningless. And what would you say to your guests?
In order to not face such embarrassing situations, always make sure that you have enough gas remaining in the tank before you get started.
Step 3: Take Safety Measures
Is there a hole in your gas tank? If there is one, you must spot it beforehand. Otherwise, it can cause catastrophic circumstances.
So, look for apparent damage on the tank. If no damage is seen, use a bit of soapy water on the hoses. It will tell you if there’s a leak or not. If you see bubbles, it’s time to get a new gas tank. Otherwise, you can carry on.
Step 4: Read the Manual
Now, you may know how a gas grill works, but you still need to read the instruction guide that comes with the product. It will help you to know the gas grill better and get you acquainted with its special features.
Also, make sure you know how to start the device manually in the event that the electric igniter comes off.
Step 5: Preheat the Grill
In the event of a time shortage, you might be tempted to start cooking without pre-heating the grill. But that would be a mistake!
That’s because if you fail to preheat the grills properly, then while cooking the food, you’ll see that the food is sticking to your gas grill. Now that’s not a pretty sight as that would mean your food is pretty much ruined.
So, you need to give the grill about 20 mins to get heated before you begin the cooking process.
Step 6: Prepare the Food
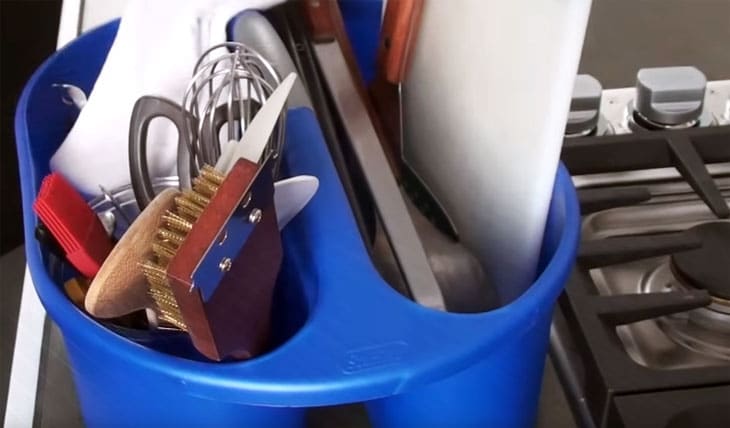
While the grill is being preheated, it’s time for you to divert your attention to the food items. Do whatever necessary steps to prepare the food before placing them on the grill. Also, keep other necessary tools close to your hand so that if the need arises, you can easily find them.
Step 7: Set the Grill to Your Preferred Temperature
Now, I’m not going to set a fixed temperature for you here as different items require different ranges of temperature. But what you need to make sure is that you do not burn the food with too much heat.
So, you need to be careful while using optimum temperature and need to rein in your instincts on letting the burners burn at full speed. Otherwise, though the food will get cooked in a short time, the taste will be completely ruined.
Now, I admit that, in the beginning, it will be a bit hard to grasp the temperature range as I have seen many people struggling with it. But with practice and continuous use, you’ll learn how to use the temperature perfectly.
To control the temperature, you can use the knobs on the grill.
Helpful posts:
How to Use a Propane Smoker in Just 8 Steps – Super Easy!
How to Use an Offset Smoker Properly – Explained in Step by Step
How to Use an Electric Smoker? Basics and Operation Explained!
How to Use a Vertical Smoker With Wood Chips
How to Use a Digital Meat Thermometer?
How to Use Masterbuilt Electric smoker?
Step 8: Placement of the Food Items
Now that the grill is ready and the preparation is over, you need to place the meat and other items on the grill.
Step 9: The Grilling Process
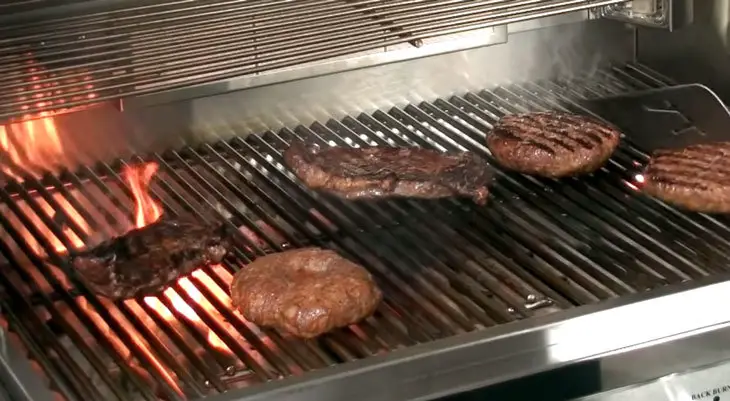
Now, remember that there’s no rest for you during the cooking process. You might think about watching the TV for a while or checking Facebook for a moment. Now you can do that, but if you take your eyes off the grill, then there’s a high chance a disaster may strike. So, you’ll have to keep your focus on the food the whole time.
Make sure that one side isn’t overcooked, so you’ll need to turn the items repeatedly.
One thing I’d like you to warn about is that, after closing the hoods, you’ll feel like checking the food again and again. But please don’t. Because you, checking the food repeatedly, will not make your food tastier, and neither will the food get cooked faster.
But I can guarantee that the opposite will happen, as by opening the lids, you are releasing the heat, which, in turn, prolongs the cooking process. So, curve your interest, and let the lid remain closed.
Step 10: Taking the Food off the Grill
After the food is ready, take them off the grill and present them to your guest.
Step 11: Burn the Residues of the Food
Now, after you have removed the food, you’ll see grease marks and other residues of the food on the grill. You need to burn them by setting the burners at a high temperature.
Step 12: Wipe the Grill Gently with a Piece of Cloth
After all the residues are burnt, you’ll still see some black marks. Take a wet piece of cloth and wipe off the marks with it.
Source:
A Few Additional Tips for You
To make things easier for you, below, I’m going to share a few additional tips.
• Do Not Fight the Flare-Ups
How to control flare-up? By not fighting it. Yes, you’ve read it right. There’s no need to get worried about flare-ups. While placing the food items, just make sure there’s an empty space on the grill so that you can easily move the food to that space in case a flare-up happens.
And if it goes out of control, you always have the option to turn the grill off.
• Keep a Spare Gas Tank
If you are using only one gas tank, you’ll always be checking if it’s getting finished. For that, I suggest you get a spare gas tank so that you can remain tension-free while cooking.
• Use a Meat Thermometer
If you aren’t really experienced at cooking, then it might be difficult for you to say if the meat is cooked yet. So, to save yourself the trouble, I would recommend that you use a meat thermometer. It’ll tell you when the meat is ready to be taken off the grill.
Conclusion: That’s all. Now you are fully equipped to use a gas grill.
Remember, you have to be both patient and careful while using the grill since a moment of carelessness can ruin the food.
Also, don’t forget to take the safety measures that I told you about because nothing comes before your safety.
And if you come across any problems while using the gas grill, you can always reach me out in the comments section. I’ll try my best to answer your queries.


