How to Use a Propane Smoker in Just 8 Steps – Super Easy!
In this world, it would be rare to find a person who doesn't like to indulge in barbecued foods in form.
Albeit the only person who will go far as to refuse this delicacy is someone either on a strict diet or diabetic medication or others.
Now, one of the best ways to grill foods is to use a propane smoker.
Don’t worry if you don’t know how to use one. In this post, we are going to teach you everything about using a propane smoker.
More...
Why Use a Propane Smoker?
Do you know what is even more satisfactory than eating a barbecued meal?
Yes, you guessed that right! It's making them!
Speaking of preparing barbecues, today let’s talk about the marvels of using a propane smoker. A propane smoker is perhaps one of the most convenient barbecuing devices yet manufactured in the market.
For not only are they the fastest for barbecuing foods, but also they require the least amount of time to fuel up and start generating heat and smoke. Moreover, it is a device also elementary to maneuver, with their in-built temperature and airflow control options.
Furthermore, with a propane smoker, you don't have to go through the hassles of working with messy charcoal, briquettes or waste long hours standing in front of the device to control the cooking progress.
The most fantastic feature, yet? With a propane smoker, you don't have to wait for summer to brush up on your cooking skills. For this smoker can be used anytime or season of the year!
So, are these reasons not lucrative enough to give this a try?
How to Use a Propane Smoker Step By Step
Provided that you are not someone very reluctant to let go of the traditional ways, a propane smoker could be the best solution to every other dilemma that comes with barbecuing food.
Hence without any further delay, let’s take a step by step look into the processes that are required to bring the tool to its full potential!
Step 1: Get Familiar with the Tool
As you can guess from the name, a propane smoker primarily uses propane gas as its primary source of fuel. Generally, this type of device operates on the principle of slow cooking food on indirect heat and smoke over a reasonable amount of time.
While cooking food over flames wins the race in the measure of time, but in terms of delivering that perfectly cooked smoky taste, there is no alternative to the techniques of a smoker.
Now before you rush on to using your tool, it is always wise to read the user manual and get well versed into the features, options, safety tips, and instructions provided in it.
A user manual not only helps in providing an initial idea of how the device works best, but it also assists in deconstructing any misinformation you might have had regarding the product.
Step 2: How to Season a Propane Smoker?
You can think of this step as a warming up exercise for your device. Although in effect, it does more than that.
Depending on your device and model, the seasoning technique will vary. Like some will require oiling the interiors first while others not.
However, the principal reason for going through the step is the same. That is to get rid of the dust, grease, smell, or other such unwanted residues left in the device during its manufacturing process.
Because if you don’t eliminate these variants, the chances are that your food wouldn't come out exuding the aroma that you were expecting to get.
What more seasoning only needs to be done once and that too, when the device is brand new? As for how to season a propane smoker?
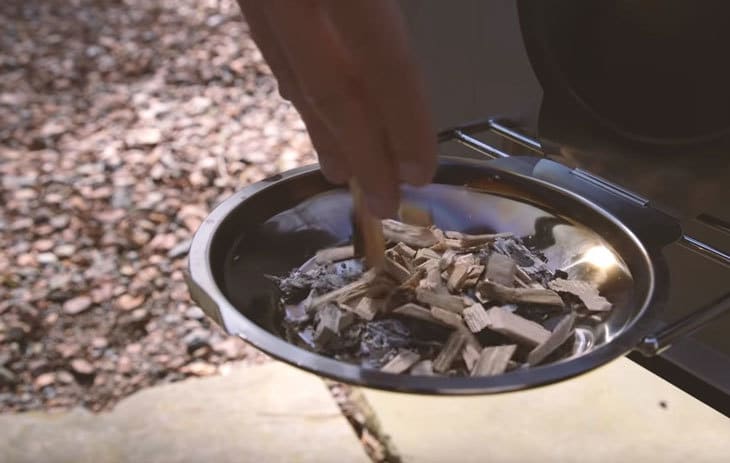
Well just put out some wood chips in the designated tray within the smoker, turn the flame on, and firmly close the lid.
Within 10-15 minutes, you will see smoke wafting off the chimney, thereby disinfecting your device altogether. Leave the device to run like this for an hour or half to completely take advantage of this effect.
Step 3: Power up the Smoker
To power up a propane smoker, you need to follow only two steps:
• Prepare the Fuel
The critical point here is to connect your gas smoker with the fuel container. In this case a propane cylinder. As with all gas line connections take the thin pipe attached to the cylinder and then screw-twist it securely to the slot indicated in your smoker.
When the connection is tightened and secured without any room for doubts, only then proceed to turn on the propane tank to let the gas into the device’s burner chamber.
• Turn on the Flame
Once the fuel source is secured, all that is left to do is press the “igniter button” for 2-3 seconds and then turn on the burner. You can control the intensity of the flame by directing the burner’s control knob from left to right.
With these two steps, your smoker is all but ready to cook!
Step 4: Position the Wood Chips

The natural smoke flavor of the barbecued food comes from the wood chips.
As a result, when deciding to buy wood chips for smoking purposes, choose the type that you think will align best with your recipe's aromatic expectations.
That being said, some of the popular wood chips to pay attention to are cedar, applewood, hickory, mesquite, cherry, maple, or plums. These wood chips are safer to cook with and are readily available in the market.
Although you should be careful never to use chunks or pieces of plywood or treated lumber as they contain chemicals that will end up dangerously contaminating your food.
Once you have decided on your type of wood chips soak them up for an hour or half in a water bowl.
Moisturizing wood chips results in providing three specific benefits:
Once you are done with preparing the wood chips, transfer a decent amount of them in the designated tray and slide into position.
Usually, the recipe's duration determines the need for refills. However, it is generally predicted that to run the smoker efficiently for 2-3 hours around 4 cups of wood chips would suffice.
Step 5: Controlling the Moisture and Flavors
Chances are your propane smoker will be equipped with a water bowl. Now, this is a feature that could be used to its full advantage!
Take out the water tray from the device and wrap it up with aluminum foil to make it more heatproof. Next, fill the container with a good amount of water and then return the tray to its initial position.
Technically it is advised to use hot water instead of cold, as it will not interfere with the actual internal temperature or slow down the cooking process.
However, it is only a piece of advice and not a must.
Putting water inside a smoker helps to balance the moisture level within, through evaporation. The water also contributes to getting a soft and juicy meat texture.
To further flavor your dishes, you can mix aromatic herbs such as rosemary or sage to the water or use different liquids such as beers, scented wines, apple juices, etc. instead of just plain water to enliven the flavors of your dish to a new high altogether!
Step 6: Adjust the Airflow
Once your wood chips and water tray is in place, it is time to shift your attention to the airflow mechanism of your device.
Usually, a propane smoker comes with a chimney and two-three vent that could be adjusted following the heat and smoke requirements.
Generally, it is advisable to keep the vents completely open during the cooking period. This is because proper ventilation helps to speed up the process by providing healthy air circulation.
Consequently, it also prevents terrible (such as over burned) smoke from accumulating and hovering over the dish, thereby running the risk of contaminating its taste.
Step 7: Cooking the Food
Now that you are done setting up the smoker, it’s time to get the show started.
Whether you like to marinate the food overnight or just half an hour doesn't matter. Nor does it plays much effect whether you select to rub dry your ingredients or prefer to douse the meat in a mixture of oil and seasoning.
For how you like your food on the plate is a decision that is only accountable to your specific taste buds.
However, what you should keep in mind is the following:

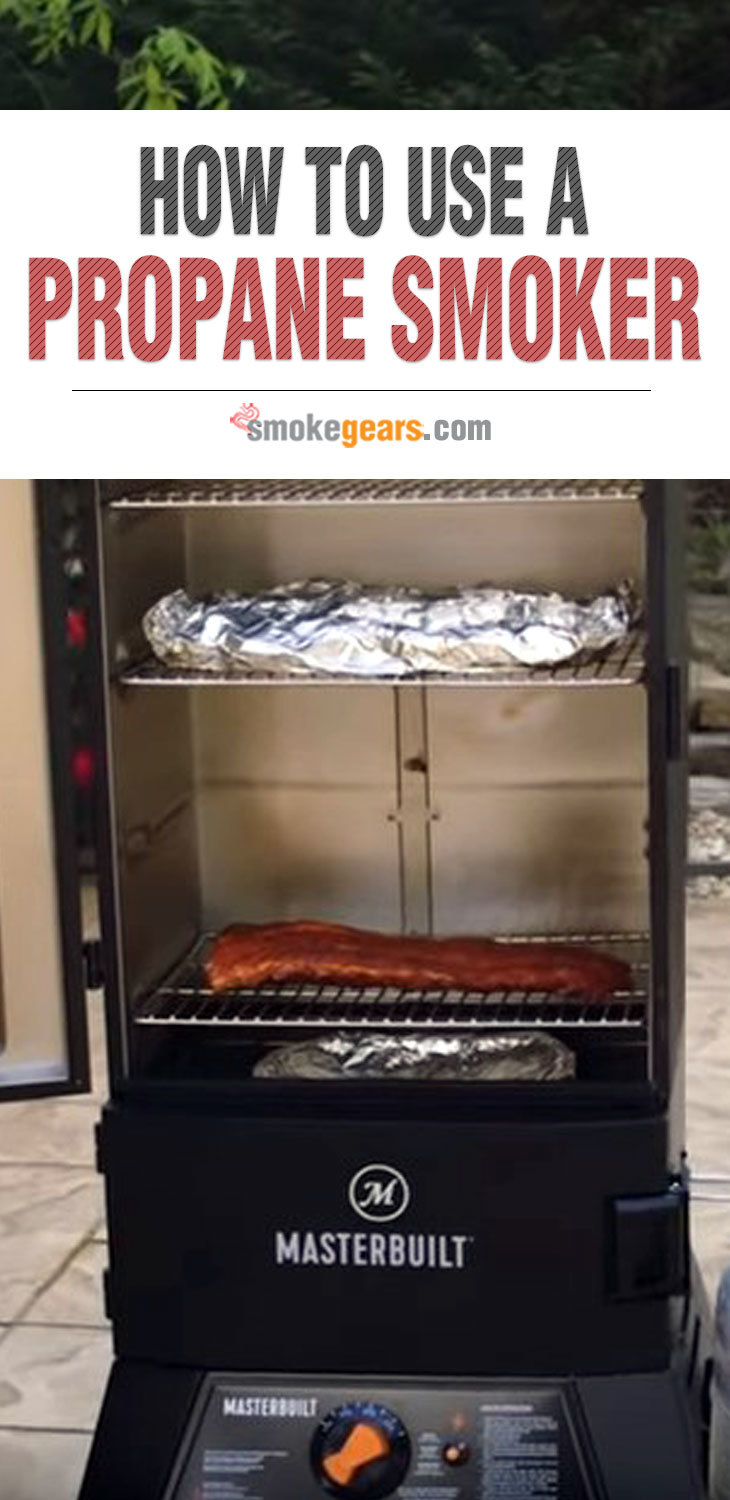
At this point, if everything appears beautiful to you, close the lid of the smoker and relax your shoulders. There is nothing more to do now except to sit back and wait for the food to cook within its own sweet time!
Step 8: Inspect the Progress at Regular Intervals
Inspecting doesn’t mean opening up the smoker door to look at the cooking progress whenever you like.
On the contrary, it is extremely discouraged to open the lid before an hour two of has passed. This is because opening the cooking chamber runs the risk of fluctuating the internal temperature, which ultimately will show its effect on the outcome.
As a result, even when you have to open the chamber for legitimate reasons such as flipping the food sides, applying a layer of additional sauces, or checking up the meat temperature near the end, it is advisable to do so in the quickest possible time to not disturb the temperatures drastically.
Having said that what I mean by inspection here is to check at interval whether the device has run out of smoke (in which case you will have to add more wood chips) or needs its overall temperature (ideally 225-275 degrees Farenheit) as well as ventilation to be regulated or not.
Use a meat thermometer to know the right temperature, check details here.
How to Smoke on the Masterbuilt ThermoTemp Propane Smoker:
Conclusion:
If everything goes according to plan, you will have no problem getting the perfectly cooked BBQ dish of your dreams.
As for some end tips, once you are done cooking make sure to turn off the flames and remove the gas connection carefully before moving on to take out the dishes from the smoker.
Always remember to keep yourself safe when handling easily flammable objects and fuels. It is even better to always wear a pair of gloves and shoes (no open-toe sandals) when attempting to barbecue foods, as prevention is still better than cure.
Most importantly, never forget to clean up and pat dry your device thoroughly after its usage as this practice, in the long run, will help you to maintain the product's performance and longevity.
I hope this article will be able to clear off all your doubts regarding the usage of a propane smoker.
But then again if you do come up with any questions, feel free to drop them in the message section below, and I will do my best to answer them!


