Grilling Time and Temperature Chart: A Complete BBQ Grilling Guide
Since everyone wants to be an expert at grilling. It requires a lot of knowledge and information to be great at, fortunately for you. And we have you covered and can help you gain the necessary expertise and skills that are needed.
Since the barbecuing season is coming up right around the corner. Many of us will want to put our grills to use. And invite over friends and family to taste our most delicious tasting meals.
If you don't have lots of experience or you're just looking for new tips and tricks. we can help you develop your skills into having a more refined approach. So, check our complete grilling time and temperature chart.
More...
We will give you the best tips and tricks and show you how to become a professional BBQer in no time at all. We want you to learn from other people's past mistakes. So you can have everyone at the dinner table desires to come back for more of your wonderfully made, delicious tasting food.
We'll give you a guide to help you learn the ropes as quickly as possible. And it's crucial that you use this guide as an approximate estimation when it comes to grilling. Grilling techniques and skill come with time and experience.
This is why you see some of the best Pitmasters in the world change their grilling times and temperatures (bbq books review here). And they still end up with a delicious salivating dish that you wouldn’t expect from changing the time and temperature. Don't be afraid to experience with different techniques. Just keep some of the core principles in mind.
Every time you grill, take notice of how the meat tastes (did it come out too dry, could it use more flavor, what would happen if you used a different flavor wood chip).
You can always try something new the next time (experience with different ranges of heat, like cooking hotter at the start and lower the temperature towards the end when you're close to being finished grilling meat).
Note: Want to use this infographics on your website? Copy the following code:
<h2>Grilling Time and Temperature Chart</h2>
<p><strong>Please include attribution to <a alt="Smoke Gears" href='https://smokegears.com/'>Smoke Gears</a></strong> with this graphic.</strong><br /><br /><a href='https://smokegears.com/grilling-time-temperature-chart/'><img src='https://smokegears.com/wp-content/uploads/2020/04/grilling-times-and-temperature-chart-infographic-smoke-gears.jpg' alt='Grilling Time and Temperature Infographic' width='800' border='0' /></a></p>
Make sure you have all the right equipment before you start grilling.
These should be all that you need before you're ready to start grilling.
Before we take an even more in-depth look at more details when it comes to this chart, we'll give you the top eight tips and tricks from professional Pitmasters.
Top eight tips for grilling from top chefs
As you can see, there's a "resting time" which will allow all the juices, flavors, and taste to settle into the meat after the grilling. Its and resting your meat halfway through grilling (as well as lowering the temperature that you're grilling at), will all go a long way in giving you a juicier, more tasting, flavorful meal. Make sure you don't forget to do both of those things, as it will provide you with much better results.
You'll be able to tell a huge difference (and so will everyone else), from eating the meat when it gets directly off the grill and letting it set for the proper resting time.
Also, remember never to flip any meat with a barbecue fork, this will let all the juices run out of the meat and into the fire, thus causing your meat to dry out faster.
Grilling different types of food
Grilling is probably the better way to cook any food, it allows you to be as creative and adventurous as you want to be, and leaves you with some of the tastiest food possible when done correctly.
Stick to the core fundamental techniques and use your prior knowledge and experience to guide you into taking your BBQing skills to the next level.
We'll make sure to cover all the different foods possible when talking about different cooking times and temperatures, so rest assured that you'll have a great idea on where to start when beginning your BBQing journey (or just gathering some more knowledge for your already expert skills).
The thickness of the food
The thickness of the meat can determine how many serving sizes you'll get from each cut and can also affect how long you're going to have to grill it for as well as the temperatures to roast it at.
Make sure to pay attention to the thickness in meat each time you grill so you can see the difference in how it cooks and adjust your times and temperatures for grilling accordingly.
When cooking your meat, the amount of heat that you want to use is going to vary depending on how thick each piece of meat is. It's ok to cook the same cut of beef at different times and temperatures depending on its thickness.
What type of heat to use
If you're looking to cook your meat to absolute perfection, then you'll need to determine what type of heat you want to use. Grilling is going to be a much faster way to cook, compared to smoking; however, when you're grilling, you can choose to cook your food over indirect or direct heat.
Direct heat
With direct heat, you're going to have the food right above the flames. It will be the best method to cook foods like vegetables, fish & seafood, as well as thinner slices of meat.
Indirect Heat
Where the source of heat cooks the food and not by the flames itself, usually, the fire is on one side of the grate at medium to medium-low, and you cook the menu on the opposite side of the grates.
It is a great way to use different gradients of heat when grilling. Keep that in mind for when you want to lower the temperature when you're getting towards the end of the cooking time.
Indirect heat is also the best way to grill thicker pieces of meat that have to spend a more extended period cooking with a slower heating method.
Times and temperatures to grill at and time per side
If you want to have the best grill meat possible, you can't just throw the meat on the foreman grill and let it cook. You're going to have to use a little more finesse and use some techniques when it comes to grilling the correct way.
You can do things such as, flipping the meat halfway through the grilling process, and lowering the temperature towards the end, will help you end up with a very delicious tasting meat.
When grilling you'll have to keep in mind that the higher the heat you use, the better done your meat will be. You'll have to adjust the temperature accordingly for what you want. It doesn't matter what you decide, as long as you use a digital meat thermometer to make sure that it's fully cooked each and every time.
The temperature of the grill grates (surface temperature)
You're never going to want to place the food directly on the grill as soon as the fire is started. It's essential always to preheat your grill to the ideal temperature first and then later introduce the food to the grill before you begin cooking. I would recommend having the grill going at least one hour prior to when you decide to start cooking.
We'll show you the best times and temperatures for grilling that you should use when preheating your gas charcoal combo grills so you can have a better understanding of each food and how to prepare for cooking it.
Best grilling time and temperature for different types of food
The ideal temperature for each type of food is going to differ by the thickness mainly, and the type of cut it is. Later on, we'll show you the ideal times and temperatures for each different kind of food so you can have a better understanding of what you should be aiming for.
Required grilling time and temperature for chicken
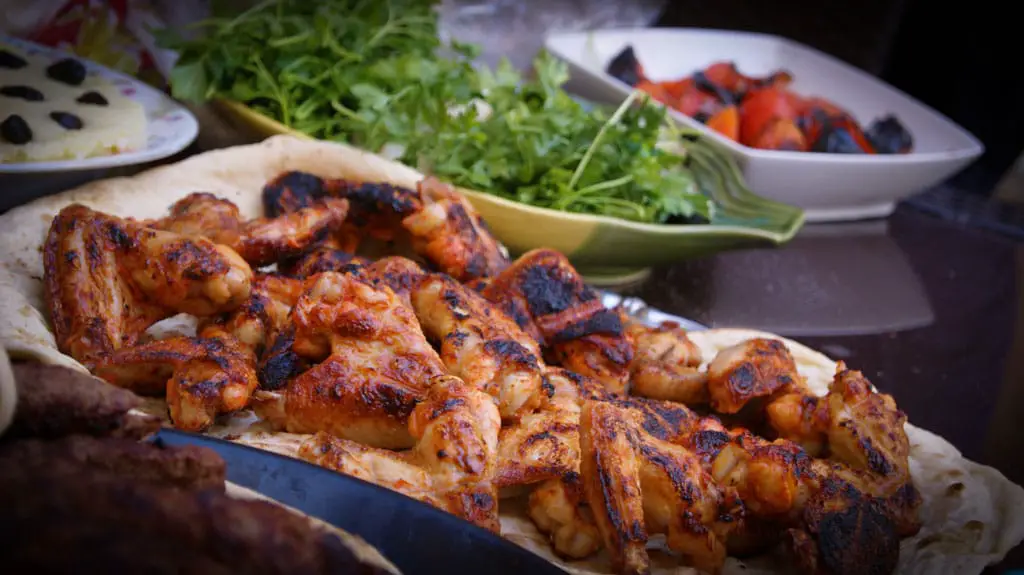
Barbecue Chicken Grilling
Breast Halves (Both Bone-in & Boneless)
Breasts
Since the breasts are some of the meatiest parts of the chicken, you're going to want to make sure to lightly coat them in olive oil before you start grilling them. It will prevent the breast from drying out too fast as well as hold in the juices longer while you're grilling them.
If you really want the chicken breast to hold in moisture, you should cut some shallow gashes in the breasts. It will help the marinade permeate the meat. Make the cuts 1/4th to 1/2 inch deep.
Whole Chicken (Not Stuffed)
Legs or Thighs
Thighs and chicken legs make for a great meal no matter how you decide to eat them. You can throw them on the grill without any marinade or season if that's your style. But if you want to use some great spices and rubs, use the following combinations for some fantastic tastes.
Marinate your meat with a small amount of oil mixed with citrus juice, vinegar, and your favorite herbs and spices. Some of the best spices and herbs to use are salt, pepper, garlic salt, onion powder, Cajun seasoning, basil, thyme, jerky seasoning, and parsley all work well for a dry rub.
It's usually best to use a light to medium amount of spices. I've found that it's best to add spices and herbs from 2 - 4 hours before you start grilling your chicken.
Drumsticks
Wings or Wingettes
Wings make the perfect snack no matter what the occasion. You can add a generous amount of spice and flavoring to your wings, and no one will complain. Let them marinate for over 24 hours in your favorite rub.
There’s never anything wrong with adding a right amount of spice to your chicken wings. Whether you want bone-in or boneless, these will make the perfect snack for any occasion.
If you want to give your wings the full taste of flavor. Don't be afraid to provide them with a healthy amount of rub. And let them marinate for over 24 hours the night before. After that, barbecue them to a temperature between 165 F - 180 F over direct (medium) heat for at least 8 to 12 minutes per side.
Since wings cook so fast when BBQing, make sure to keep a constant eye on them, so they don’t burn too quickly.
Everyone loves to eat chicken. Whether you grill it or fry it, it's going to taste delicious. Grilling it isn't only going to make it healthier. But if done correctly you can have it eating juicier and more full of flavor than any deep-fried chicken will ever taste.
If you want to grill chicken to a safe temperature then always grill the internal temperature to a minimum of 165 F. This will ensure that you can safely eat the chicken without having to worry about any health problems.
There are some pointers on how to perfectly grill chicken
Required Time and Temperature for Grilling Turkey
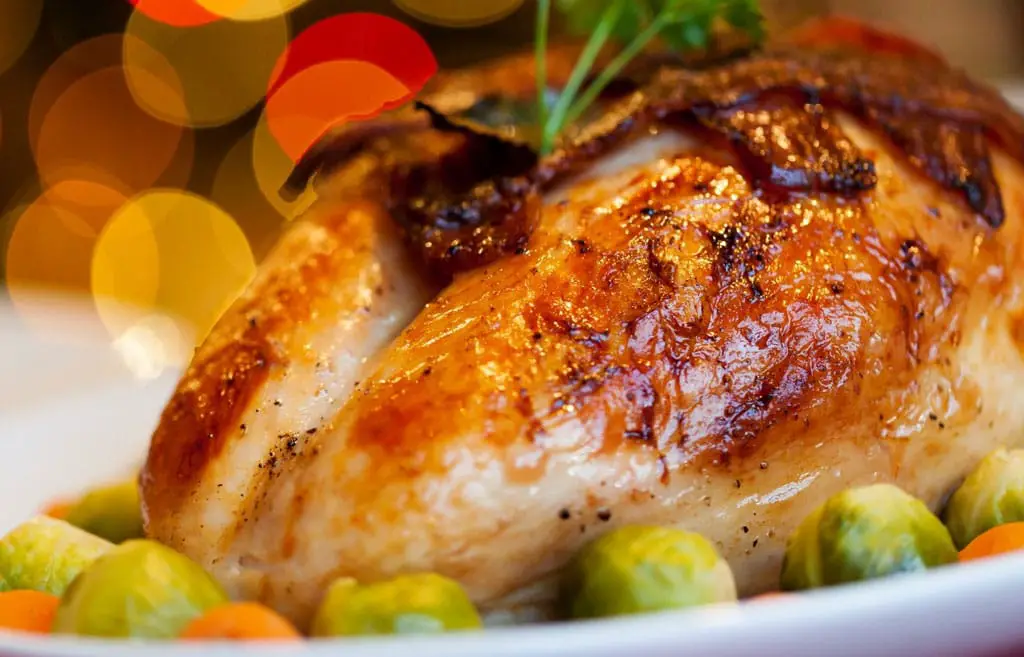


BBQ Grilled Turkey
Turkey Breasts (Bone-in & Boneless)
Whole Turkey
Turkey Thighs & Drumsticks
Boneless Turkey Roll
Other Tips and Tricks for Grilling Turkey
Know the differences between ground beef and ground turkey.
Required Times and Temperatures for Grilling Beef
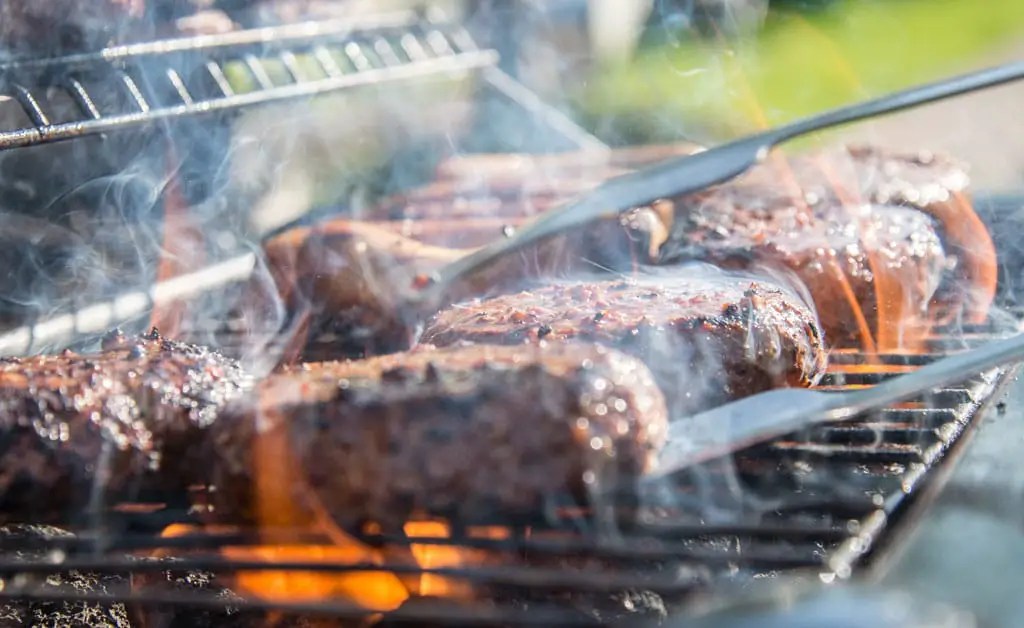


Barbecue Beef Grilling
Beef New York Strip
Beef Hamburger Patties
Beef Filet Mignon
Filet Mignon is a more delicate cut of meat due to its butter-like texture. One of the best things that I've found to do is to wrap the filet Mignon in bacon before throwing it on the grill (secure one piece of bacon around each slice of filet Mignon with a toothpick).
You're going to want to cook filet Mignon with direct heat (you can also use indirect heat if you so choose). For direct heat, use medium heat and cover your grill.
If it's an inch thick cut meat, grill 10 - 12 minutes for medium-rare (145 F) or 12 - 15 minutes for medium (160 F).
If it's an inch and a half inch thickness meat, grill 15 - 19 minutes for medium-rare (145 F).
When using indirect heat make sure to use a drip pan. The times and temperatures are a little bit different when you grill using indirect heat. The best times and temperatures are as follows.
For a one inch cut, grill for 16 - 20 minutes for medium-rare (145 F), and grill for 20 - 24 minutes for medium (160 F).
For an inch and a half grill for 22 - 25 minutes for medium-rare (145 F) or 25 - 28 minutes if you want medium (160 F).
Beef Kabobs
Beef Roast / Rolled Rump
Beef Sirloin Tips
Sirloin Tips is a thinner cut of meat, and that means that it will cook faster, and also have a higher chance of drying out quicker.
If you want to prevent your sirloin steak from drying out faster, I would suggest rubbing a right amount of olive oil all over the steak and add a good pinch of authentic sea salt (medium grain size) and black pepper.
Make sure to marinate your sirloin (I like to marinate mine for at least 24 hours minimum to let the juices soak in), or you can make it much tastier by applying a perfect rub, and the results should be outstanding. It is one of the best reasons to cook sirloin!
Another great tasting way to prepare sirloin steak is to mix one tablespoon of butter with parsley, garlic, and soy sauce or homemade sauce. I like to throw on the salt and pepper first and then flip it in the butter and seasoning for half an hour to an hour before putting it on the grill. Tastes so good in your mouth!
Beef Tenderloin
Beef should be salted and seasoned one to three hours before you start grilling. Always use medium sized grain and only use right sea salt (avoid using table salt, iodized salt, or little fine-grain salt).
Beef Steak
The main four cuts of steak that we can grill, and we'll give you some pointers on what you can do to ensure a higher quality finished product.
Generally speaking, all meats will raise an average of 5 F after they've come off the grill. That means if you want your steak to be 125 F, go ahead and take it off the grill once it reaches 120 F.
Beef Burgers
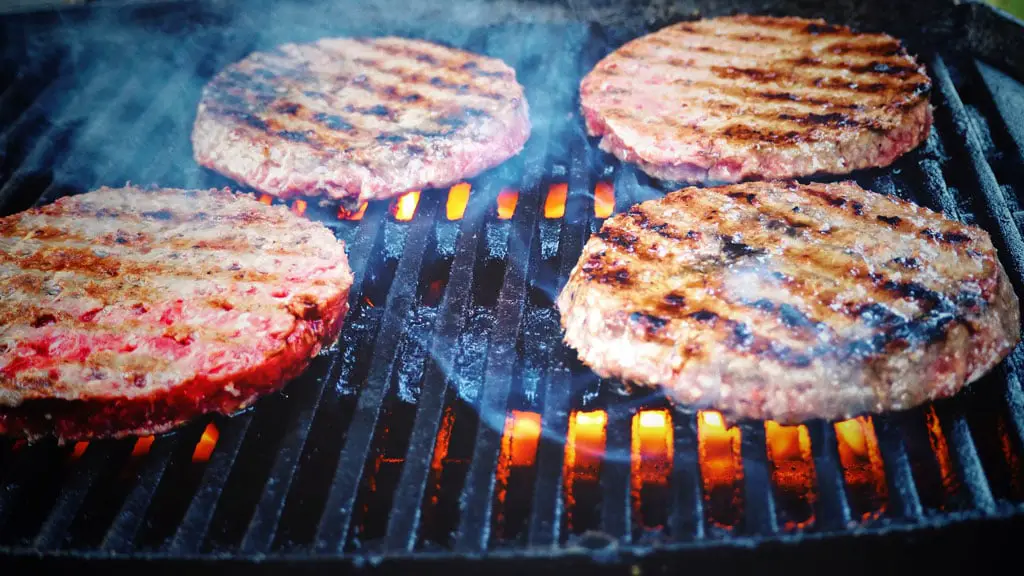
Burgers are one of the most often cooked meats for grilling. It's best to go for 80% lean beef and 20% fat for a juicier tasting burger. Season it with salt and pepper and form the patties to about 6 ounces and try to make it about 3/4ths of an inch thick.
Before throwing it on the grill make sure to press a deep indentation in the middle of the patty, so it doesn't get too fat when grilling.
The grill temperature should be around 400 F, and you should cook the patties with a two-zone grill. Flip your burgers once after 3 - 4 minutes of cooking on medium-high temperature. For medium rare you want the internal temperature to be at 145 F.
Hotdogs & Sausages
When cooking hot dogs and sausages, you'll need to make sure to spray the grates with a non-stick grilling spray (just use a couple of quick blasts).
Preheat the grill between 300 and 350 F for 10 - 15 minutes and when you put your hotdogs or sausages on the grill place them perpendicular for the best grill marks and taste.
You have to use a time range of 5 to 7 minutes for your standard beef franks, 7 to 10 minutes for jumbo franks, and 15 minutes for quarter-pound franks.
Required grilling time and temperature chart for pork


BBQ Ground Patties
Disclaimer: Pork is prohibited for Muslims. If you are a Muslim, avoid this section. We honor all of our readers.
Pork Chops (Both Bone-in & Boneless)
The best thing you can do when cooking pork chops is to select the right cut of meat. Blade chops should be your first choice, rib chops second, and loin chops being the third best. Try to get the center-cut if possible. Try to get a one and a half inch thick cut of meat, and it will do superb on the grill.
There are two different ways to brine your pork chops; dry and wet brine. We recommend using dry brine. A dry brine is simple; all you do is sprinkle some salt all over the meat and let it rest long enough for the salt to penetrate the meat and work its magic. You can brine the pork chops in a little as an hour before grilling or up to a full day.
Pork chops are best grilled with indirect fire, using a two-zone grill. You're going to want to sear them on the hotter side of the grill and then once they're well seared move them over to the cooler side of the grill and let the lower heat.
For a medium-rare pork chop, you want the internal temperature to be 135 F, and for a juicy and rosy medium pork chop, you'll want the inside temperature to be at 145 F.
Ground Pork Patties
Pork Spare Ribs
There are three different types of pork ribs that you can grill. You can grill baby back ribs (probably the most comfortable choice), spareribs, and St. Luis-style ribs (being the most difficult to grill). We'll talk about grilling baby back ribs in this section.
Some people like to use marinades, and some people want to use rubs. In my opinion, it's best to use both for pork ribs. Marinating it will add flavor that can reach deep into the meat (it's best to marinate it overnight).
Use the spice rub to add more flavor to the surface of the meat. When you're grilling the ribs, the grill will sear the skin of the meat, and it will be a nice contrast to the juicy, tender, delicious tasting meat inside.
Pork Tenderloins
The best way to cook pork tenderloins is to start with a tenderloin that weighs around 1 to 1.5 lbs. Rub it with extra virgin olive oil and then sprinkle your seasoning on it. I like to skip marinating it and use a dry rub.
Anything works really, but I've found the best dry rub to be sat, garlic powder, pepper, and any steak rub of your preference.
You should also cook pork tenderloins on a two-zone grill. Grill all four sides for at least one and a half minutes and close the grill lid each time after flipping them.
After that move them to the cooler side of the grill and then grill the two larger sides for 4 minutes each. Until the tenderloin reaches an inside temperature of 140 F.
Pork Loin Kabobs
Pork loins are relatively lean cuts of meat, so you have to be careful not to overcook them. Since the pork loin is a more significant cut of meat, you're going to want to use indirect heat. It takes me 1 hour and 45 minutes to grill a 4 lb pork loin grilling at a temperature of around 325 F.
I've found the best way to season your pork loin (you're welcome to use whatever method fits your preference) is a mixture of paprika, onion, black pepper, garlic, and mustard powder all mixed together.
You're going to want to rub the pork loin with cooking oil and lightly salt all sides of the pork first before liberally dusting the pork roast.
Grill the pork loin to one side of the grill with the heat source on the other side of the grill. Rotate each side of the pork roast every 15 - 30 minutes to make sure each side is cooked evenly. The roast will be done when the inside temperature reaches 145 F. Let it sit for 10 minutes before serving.
Pork Uncured Ham
Consuming pork is one tastiest types of meat that we can consume. Whether it's bacon, tenderloin, or pork ribs, there's something about pork (probably all the fat that it has) that tastes delicious.
When grilling pork, the best thing to do is to treat well. We've included a guide on how long to let each cut of pork marinate for:
Required grilling time and temperature chart for vegetables


Vegetables in basket
When you’re cooking vegetables, you don't have to worry about letting them sit before serving them. It's ok to serve them up right away and start chewing right in.
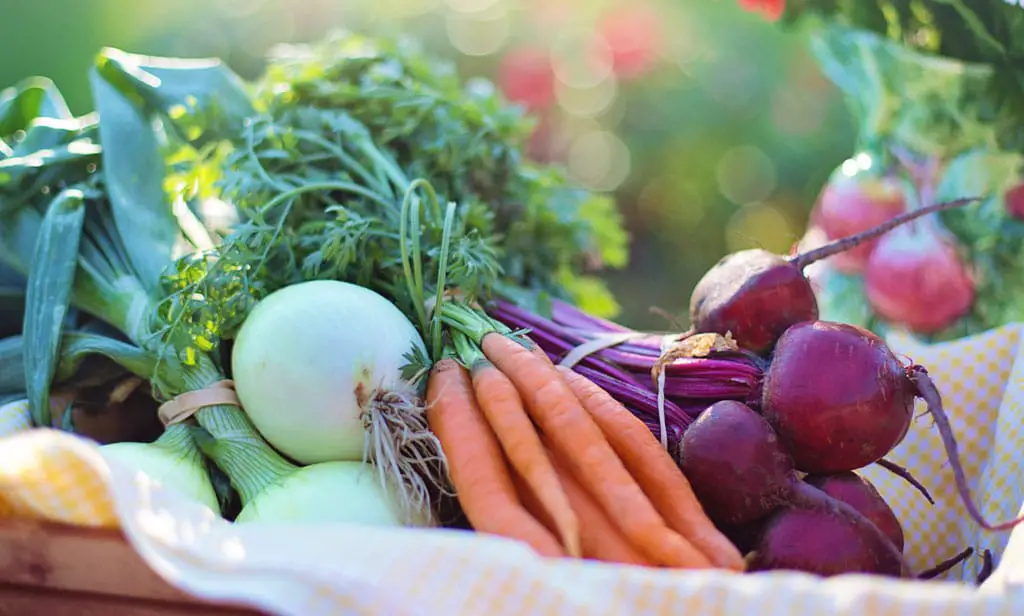
All vegetables will be preheated and cooked at 350 F and can be served immediately after cooking. Here's an excellent guide to follow on how long each vegetable should be cooked for:
Grilling vegetables shouldn't take any time at all. You can use an average grilling temperature of 350 F to grill all the vegetables.
It's best to lightly oil the vegetables. It's also best to use skewers when grilling smaller pieces of vegetables and cook them in foil.
Average Grilling Times and Temperatures for Other Types of Foods
Required time and temperature for fish & seafood
When grilling fish and other seafood go ahead and brush them with a little oil or butter and dress them in lemon. Season them with salt, pepper, and any fresh herb of your choice. Always clean your grill and oil it, so the food doesn't stick.
It's best to preheat the grill between 400 and 500 F when cooking fish and seafood, when cooking filets cook them flesh-side down first and then flip them to create a yummy tasting crust on the surface. Grill the fish for 10 minutes for every inch of thickness it has (the internal temperature should be 145 F).
For shrimp you only need to grill them for 2 minutes on each side and for seafood like lobster, you should cook them for 8 - 10 minutes grilling it shell-side down until the meat is opaque in color and pulls away from the shell.
How to control the heat temperature depending on the type of grill you own is dependent on the level of heat that the grill produces as well as the type of fuel you use, and also how well you do at controlling the temperature (your skill at controlling the temperature).
Charcoal Grills
Everyone loves the taste of BBQ and charcoals can give you that Southern BBQ flavor that tastes so delicious. Controlling the temperature is going to be a key essential that you'll have to learn if you want to come out with mouth-watering steaks and other cuts of meat.
When BBQing pay attention to these three different factors:
In order to layer the charcoal, there are a few different options that you can use.
The Single Zone Fire -
Spread the charcoals evenly at the bottom of the grill. Don't be tempted to use as many coals as possible. It can increase the heat too much, and you can end up with your food burnt very quickly. The single zone fire works excellent when you're cooking meats such as burgers, hotdog, sausages, etc.
The Two-Zone Fire -
When setting up a two-zone fire pit, put all the charcoals to one side of the fire pit and leave the other side with no charcoals at all. Another way you can use is having an equal arrangement on both the left and the right side of the grill.
This will allow for even heat distribution of direct heat on the left and right side and indirect heat in the middle (great for cooking whole chickens, roasts, and ribs). Make sure to keep an aluminum pan under the center of the grate to catch any juices that drip off so you can prevent any flare-ups.
The Three-Zone Fire -
To achieve a three-zone fire on your grill, you're going to put the coals on the bottom of the grill and align them like you would a single zone fire, but you'll use a slope instead of having them evenly distributed. The top end of the slope will create your direct heat, and the opposite side should have no coals at all. It will give you high heat (direct), medium heat (direct), and indirect heat.
One of the best tricks you can do for a delicious taste is to cook your meat for 10 - 15 degrees below the ideal temperature and then let it rest for a little bit so the heat can distribute evenly throughout the meat. After that flash cook it on each side, briefly rest it again, and then serve it up
Vents & Dampers -
Vents are one of the best ways to control the temperature when you're grilling. The top vents are going to trap and release the heat and smoke and help you adjust the temperature inside the grill.
If you have both the top and bottom vents open it will allow for more air circulation giving you the hottest amount of heat possible. When you close the vents halfway, it will enable for cooked foods to stay warm and can also be used to prevent flare-ups.
The three main temperature ranges
Low & Slow -
When you want to cook low and slow, you should aim for a temperature of between 225 to 275 Degrees Fahrenheit. In order to reach a higher temperature you can adjust the vents to create more heat.
The best thing to do when you reach a temperature of 225 F is to open the top vent about two-thirds of the way open, and it should get you to 250 F. You can leave the vents alone as soon as you get to the temperature you want.
On a windy day, you might have to leave the vents closed slightly more so the wind doesn't sneak in and prevent excess flames.
Mid-Heat Range -
The mid-heat temperature range is going to be between 375 to 450 Degrees Fahrenheit. This is a great temperature range if you want to add a nice sear to your food.
To achieve this range, leave your bottom vents about half-way open and leave your top vents open all the way (you might have to adjust the top vent slightly to achieve your desired temperature range).
You'll have to make sure you have an idea of checking the grill temperature as it's vital to know whenever you're grilling. You can purchase high-quality grill thermometers if you need one.
High-Heat Range -
Use this range when you want to grill at temperatures of 450 Degrees Fahrenheit or higher. Leave both the top and bottom vents completely open for maximum heating results. To reduce the amount of heat you can adjust the top vent to between fully open and halfway closed.
Everyone should know how we can avoid food poisoning.
We hope these tips, grilling time and temperature chart, and other techniques will help you discover your hidden talents when it comes to conjuring your inner Pitmaster and you can grill up the tastiest, most desirable, mouthwatering, savory dishes possible.

