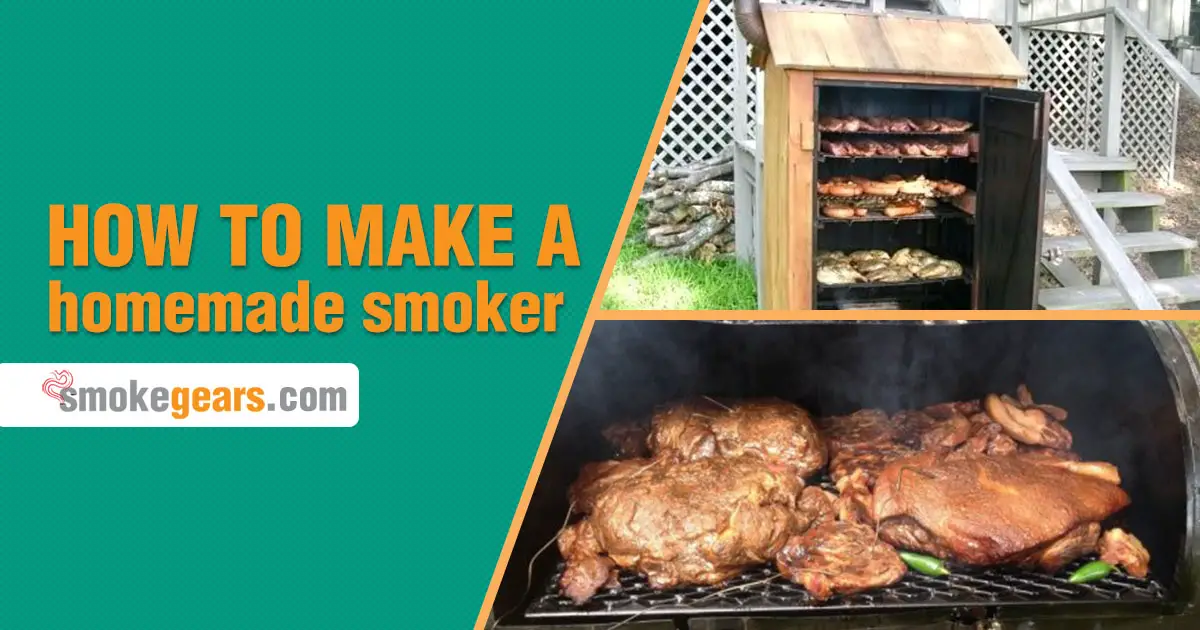
How to Make a Homemade Smoker?
Learning how to make a homemade smoker is one of the many ways you can save money when grilling. Due to the fact that there are many ways you can build a smoker, the materials and space where you work will vary for everyone. These are a few basics to get you started, if you are ready to build and begin smoking immediately.
Your new smoker will work best with the best smoker thermometer. Not only to monitor heat levels, but to ensure the desired internal temperatures are maintained. Especially when working on the ground or closer to the heating elements. The best wireless meat thermometer will help with proper temperature gauging.
More...
What you'll need:
Let's keep it rather inexpensive. For this DIY smoker, you'll need:
- A drill bit, hammer, screwdriver, and a needle nose plier.
- A clay pot and top (you can use nearly anything from a local home improvement store).
- A buffet burner and grill gates.
Stainless steel pains will hold the wood chips. And of course the best thermometer smoker will allow you to maintain temperature profiles when grilling.
Of course the materials used might vary a bit. But, building a smoker doesn't have to cost more than $50 to $75 is you know where to shop. So before you begin, take some time to compare material prices locally.
Burner:
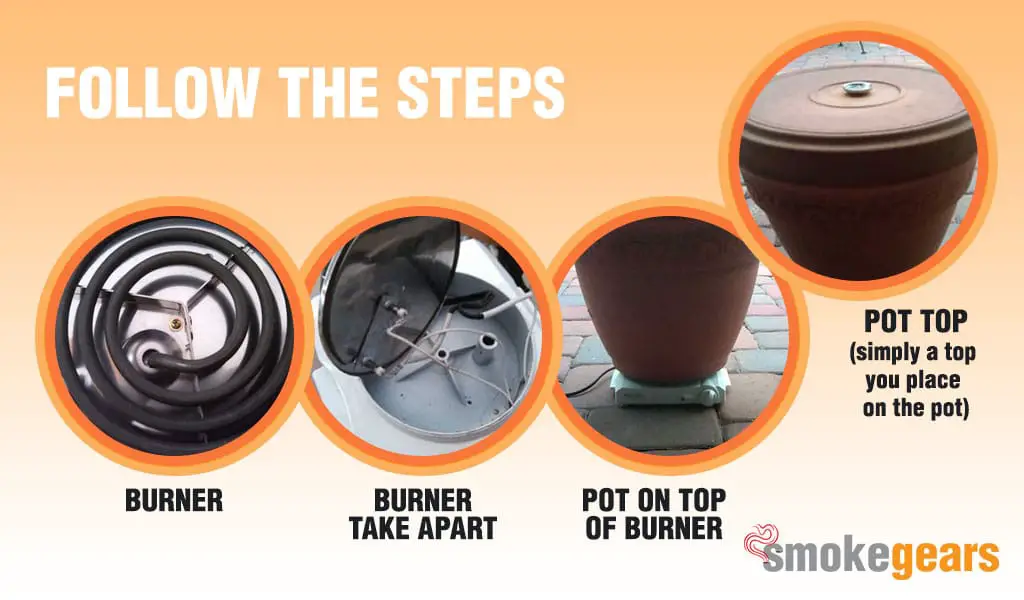
Follow the Steps for Making a Homemade Smoker
You will have to take the burner apart to use with your smoker. It is quite simple to do with the screwdriver. Simply use this and your needle nose pliers to remove the top of the burner grate. You will separate the burners from the wiring.
This is done so you can put the burner in the pot. Also remove the plastic which holds the cords in place before setting it in the clay pot.
Installing the coils:
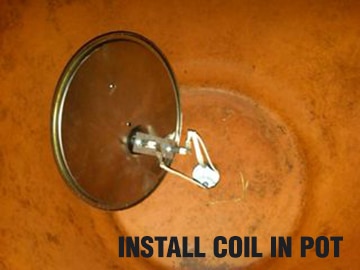
Install Coils in a Pot
Now you will install the coils in the clay pot. Simply take it and place it at the bottom of the pot. You will take the wires and run them through the bottom of the pot holes. Connect the wires at the male ends. Using a wedge will help you balance the coils at the bottom of the pot.
Thermometer hole/setting:
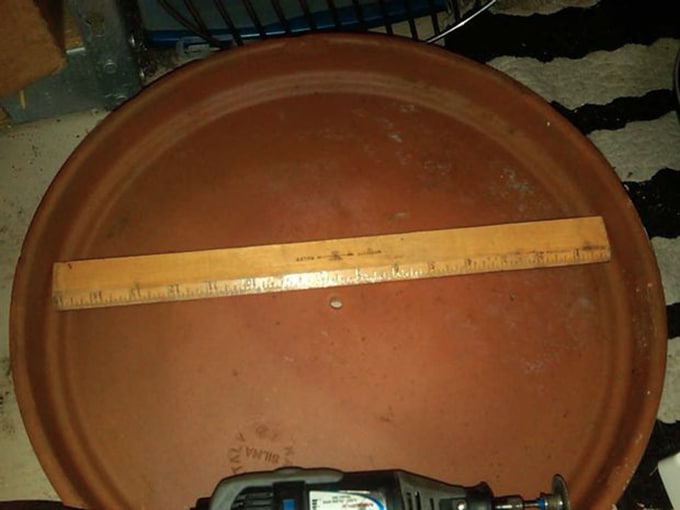
Make a hole for use thermometer
You will take the top off the clay pot. Create a hole which is large enough to set your thermometer in place. Make sure at this point you securer the thermometer in place. This is of course going to allow you to get proper readings.
You can also use a wireless thermometer for internal readings as well. The more you have the better for temperature reading accuracy.
Put it together:
At this point you will place your pan on top of your clay pot. And the pan will sit atop the burner. Put wood chips at the bottom near your heating element. On top of this you will add your grill gates. You will place the thermometer on top of the grill hole, for the most precise reading when grilling meats.
Using your grill:
You will not place your clay pot on top of the burner. You will plug it into your 12 V plug. It is best to have sufficient space around your grill, to avoid burning/too much smoke in an internal area. Allow the grill to fire up to the desired temperature and you are ready to go.
You will put the top on top of your burner. Allow it to reach a temperature of about 200 F before you place meat on the grill grate. Depending on what you are grilling, the temperature may vary a bit, so do keep this in mind.
Prepare the grates:
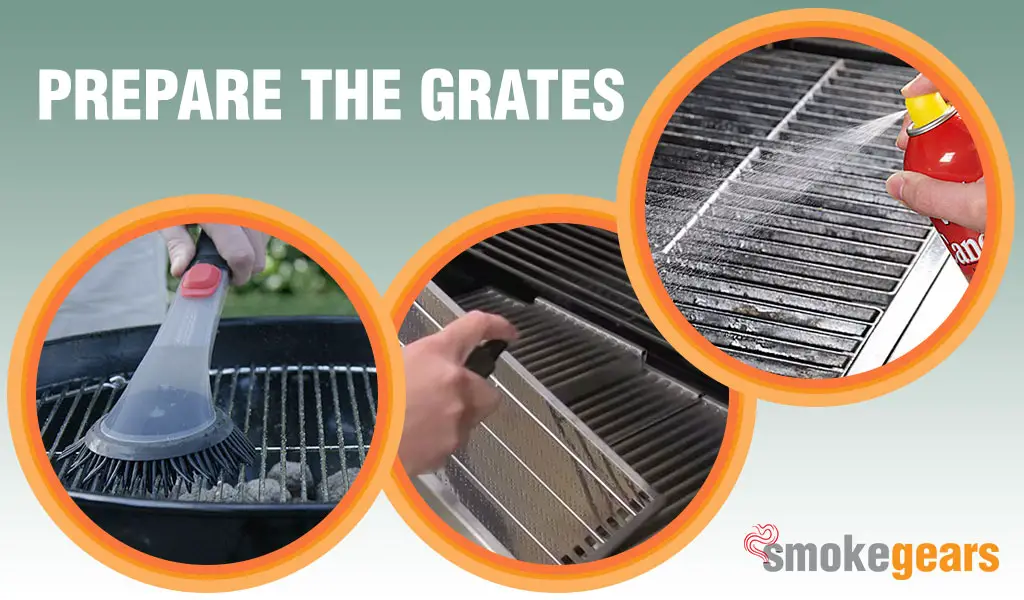
Prepare the grates- wash and clean perfectly
It is important to put oil on the grill grate like you would with any other grill. Doing so will help prevent the meat from sticking to the grill.
It also ensures even heating throughout and even cooking times. And, depending on how far the grate is from the grill element, it will also help with grill marks for searing.
To clean cast iron grill grates after grilling read this article.
Add water:
If you desire, you can have a water/drip pan as well. Using this will help with the moisture factor when you are grilling. It is going to work in a similar manner as it would with any grill you buy in stores.
You can use any lid or container which fits directly near the heating elements. And of course make sure it can withstand the temperatures you are going to be grilling at.
Design and other material:
You can of course use other materials when you are making your grill. The clay pot, and these simpler items are going to help keep the cost down when you are building your grill.
But, keep in mind that the options are truly endless when you are building a grill. DIY projects are easy, and allow you to have fun with grilling. Of course they are also far cheaper than you would pay for a professional grill or smoker.
Setting up the grill
Bear in mind that you should consider all factors around grilling.
- So you need sufficient space for smoking.
- You want to do so in an open space.
- You want to do so in an area where there are no safety issues while smoking.
- You should take the same precautions as you would with a commercial grill.
- Due to the nature of the high heat and temperature, proper maintenance is also important with your homemade grill.
Consider materials:
As mentioned above, the material options you choose are truly endless. But do consider the safety aspect, overheating, and possible burning or high smoke levels.
You should choose materials which are flame resistant, and can withstand the higher temperature you are going to be grilling at with your DIY grill.
Conclusion:
If you want to save on the cost of grilling, a homemade grill is one of the many ways in which you can do this. The direction you take in building one, is truly up to you when you are ready to build it.
But, learning how to make a homemade smoker and what you need, is the starting point. So consider this as a simple design project for your new grill.

